Thursday, September 18, 2014

Quick and Easy Bracelet Refashion Tutorial

This tutorial is SO easy, it's ridiculous! I had this bracelet but it was super boring, so I added some of my own flair.

All you need for this is some embroidery floss, a hot glue gun, a bracelet (obviously) and a little bit of clear nail polish.
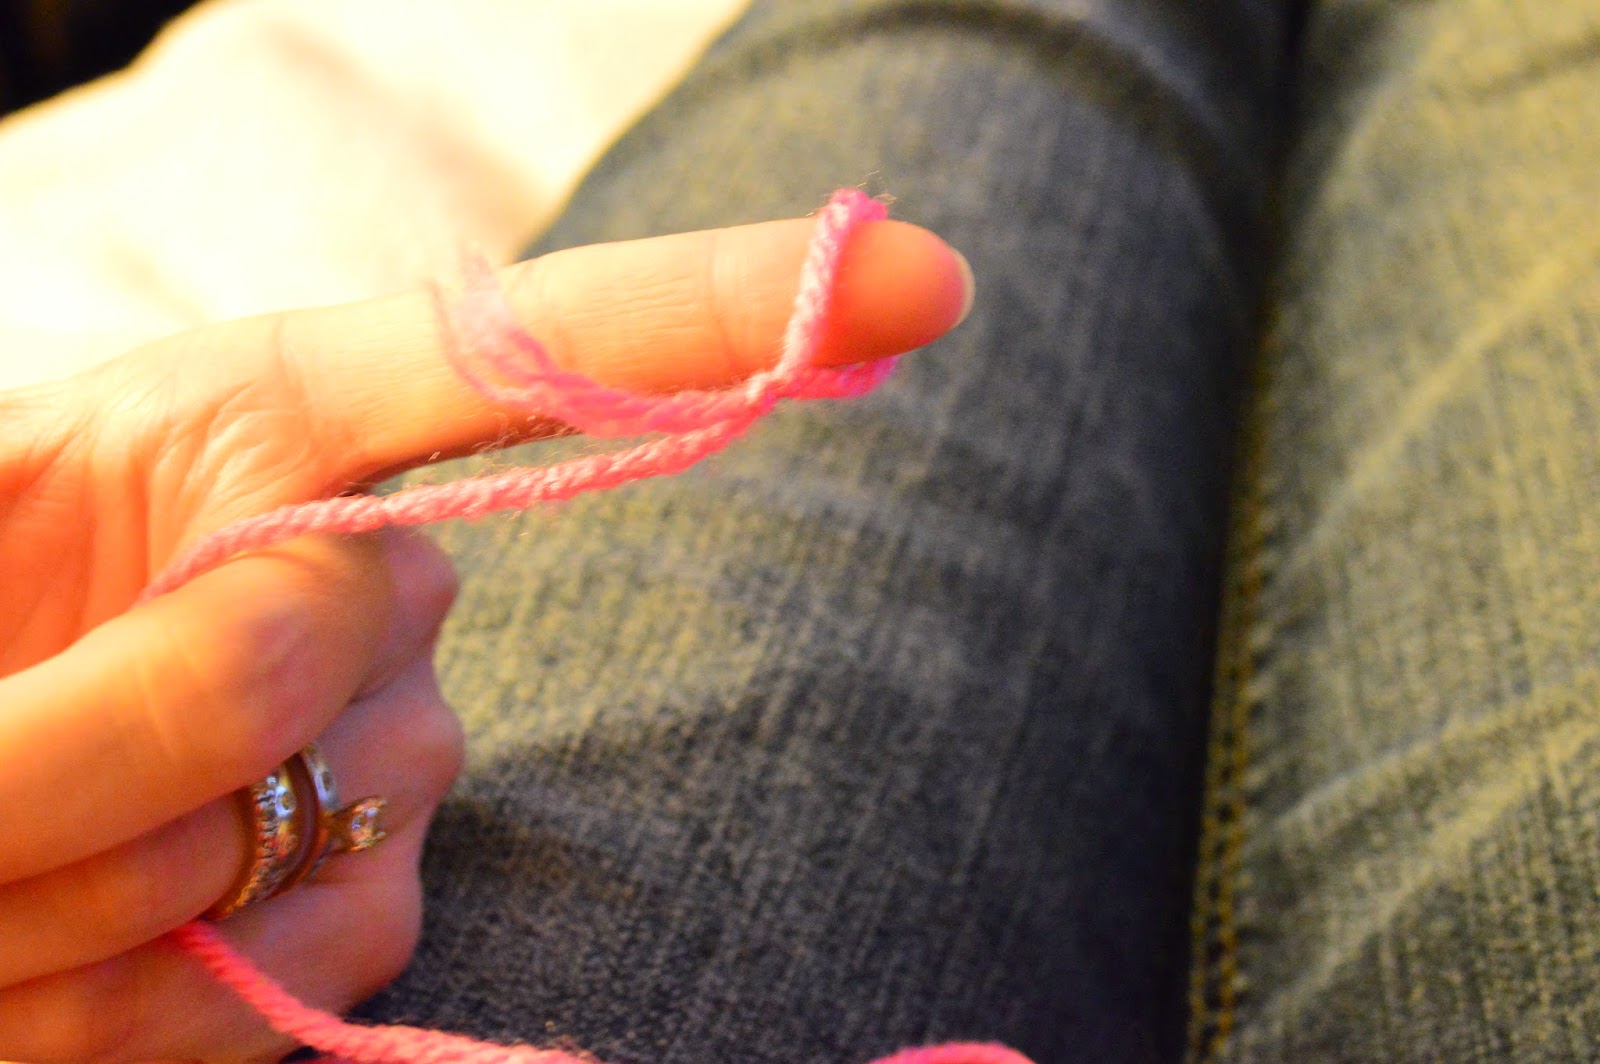
I chose 2 colors of embroidery floss. Starting with your first color, pick a good starting point and hot glue down one end. Wrap the floss around the bracelet, gluing as you go. I glued after every 1/4 inch to be sure the floss would stay in place.

When you've finished with your first color, add your second color the same way you started your first. I glued my second color over the top of the first color's beginning edge and wrapped the opposite direction.  When you finish with your second color, take your trusty blow dryer and give it a good blast on high heat to melt off any extra glue and all the glue strings.

When your bracelet has cooled completely, take your clear nail polish and paint on a nice, even coat to seal the strings to the bracelet. Make sure you let it dry completely before you wear it around otherwise you might end up stuck to your bracelet.

I hope you enjoy this tutorial and I would love to see your finished projects! :)

Sunday, September 14, 2014

Easy and Yummy Crock Pot Chicken

 Are you looking for an easy dinner? What's easier than throwing 4 ingredients into a crock pot?

For this you'll need:

  • A crock pot (obviously)
  • Chicken breast (thawed)
  • BBQ sauce
  • Pineapple chunks
  • About 1 cup of water


 Step 1 - Place your thawed chicken in the crock pot. I only defrosted 2 pieces of chicken since I'm only cooking for my husband, son and self. Use as many pieces of chicken as you need.
 Step 2 - Mostly cover the chicken with barbecue sauce. What's nice about this recipe is that you don't have to use a ton of sauce. I probably used less than 1/4 cup for my 2 pieces of chicken.
 Step 3 - Add your pineapple and the juice in the can along with a cup of water. I used about 1/4 of the can for the 2 pieces I cooked.
Step 4 - Cover and cook on high for 4 hours and then low for another 2-3 hours or until your chicken is completely cooked.

I hope your family enjoys this recipe! Mine sure did :)

Thursday, September 11, 2014

A Quick Way to Cover Unwanted Logos

So I have this hat that I absolutely love but I have never actually worn it. Mostly because of the logo but also because it was kinda manly looking.

 I wanted to make it look a little more feminine and cover up that logo at the same time, so this is what I came up with.
 I found the pattern for these flowers here:http://attic24.typepad.com/weblog/may-roses.html What I really like about these flowers is that they work up quickly and you can adjust the pattern to make as big or as small of flowers as you want. I made 1 large flower and 1 small flower, both with leaves.
 I knew trying to sew these flowers on would be a pain and would take forever, so I heated up my trusty hot glue gun and gave each flower a good layer of glue, making sure all the edges were glued down and the leaf was glued down as well. When I finished gluing everything down, I took a hairdryer and hit it with a quick blast of hot air to get rid of all the glue strings.
 I can see myself wearing this a lot more now that I'm not a walking advertisement :) I hope you find this tutorial useful and I would love to see what you come up with!

Sunday, September 7, 2014

Crochet Bracelet Refashion Tutorial

I've had this bracelet for a while but never wear it because 1) it's broken and falls off and 2) it's kinda plain. This refashion will show you how to give your old bracelets some new life.
This is all you need. Your bracelet, yarn and a small crochet hook. I used a G (4.25) for this and it didn't make the bracelet too chunky. I had to hot glue my bracelet back together before I started this refashion. Since I was going to be crocheting around the beads, I gave myself some extra space when I glued the bracelet.
Start with your slipknot and then slip stitch onto the wire of the bracelet. CH 3 and SC on the opposite side of the bead.


CH 3 and continue to hop over the beads like the picture to the left. When you get to the end, SL ST into the base of the original CH 3. Do not fasten off.


Flip all of the stitches you just did into the inside of the bracelet and CH 3. SC into the opposite side of the bead. Continue hopping the beads like you did in the earlier steps.
When you're all finished hopping beads, SL ST into the base of your original CH 3 for this side. This time you can fasten off and weave in your ends. I hot glued my ends down to give them a little more security.
I'm pretty happy with how this refashion came out and I'm finding that the bracelet is a lot more comfortable to wear as well because the yarn cushions my arm from the kinda scratchy beads. I hope you are able to refashion some of your bracelets and I'd love to see your finished projects!

Thursday, September 4, 2014

Quick T-Shirt Refashion Into a Headband


This tutorial was fun and super quick. I've had a couple of shirts that I got as gifts a few years ago and have never worn them, so instead of throwing them away, I'm refashioning them.


For this one, you need 2 strips that are 24" long and 2.5" wide. I folded my fabric in half so I only had to cut 12" strips. It made it a little bit easier to cut since I've got a small table.
Using a rounded object (I used a gigantic button) make each end of your fabric equally rounded

Pin your fabric together with the wrong sides together and sew, leaving a 1" space right in the middle of your headband. Use this space to flip your fabric right side out. Iron it so that your headband is an even width.


Since the gap in your seam lands right at the nape of your neck, you can zigzag over the hole to stitch it closed. If you don't want your stitch to show, feel free to hand stitch it closed.


What I really like about this headband is that you can wear it with pretty much anything.

Sunday, August 31, 2014

Flannel Shirt Refashion Tutorial #2

Here's another shirt I had from pregnancy that I loved but it just didn't fit right without the baby bump. I found a shirt that I really liked on pinterest but I couldn't find a tutorial for it, so this is what I came up with. I really like how the shirt turned out.
I started out by disassembling the shirt. I removed the pockets, the sleeves and the collar at the seams. Then I cut straight across at the armpits to separate the top from the bottom of the shirt. Since I had to remove pockets off the front, I couldn't use that part of the shirt because you could see where both the pockets sat on the shirt. Luckily, this shirt had enough fabric in the back to make up for the ruined front. I ended up with the pieces shown on the right.

I took my front piece and drew the neckline and the arm hole lines. This is what you end up with after you cut them out

Pin the front to the back and use it as a template to get the same lines as your front. Also cut the middle strip from the back of your shirt so you have 2 even long strips.
I wanted to add lace in the sides to give it a little peek-a-boo flair to it, so I cut 2 pieces that were 2" wide and a little bit longer than my top pieces.
Pin your long strips to the bottom of your top with the right sides together. Sew and zigzag the bottom seam. You should have 2 of the picture shown to the right.


Pin the hem around the neck on the back piece and pin around all the arm pits. Sew all your seams.


Take one of the sleeves and cut a long strip about 3" wide and as long as you want your ruffle. Zigzag the top and bottom and then hem only the bottom.

Start pinning the pleat in your ruffle. Try to get them as even as possible. When you have them all pinned, run a quick straight stitch over the top of your pleats to lock them into place.

Pin your ruffle to the neckline on the front of your top and pin the hem on the inside of the straps. (The part of the strap that isn't connected to the ruffle. It might get tricky to hem super close to the ruffle but tuck as best you can)
Don't forget to zigzag over the top of the ruffle so that your neckline doesn't come unraveled.
Stitch your lace into each side of your top. I zigzagged and hemmed the top to match the hemline on the rest of the shirt. When you have both sides stitched to the lace, trim the lace to be even with the bottom of the shirt.
Pin the longest piece to the bottom of your top. Be sure to add pleats as you pin so that you don't end up with a ton of extra fabric at the back of your shirt. After you've gotten it all pinned, sew and zigzag all around.

For the straps, mine weren't long enough for the shirt to sit right, so I cut 2 strips and hemmed them to the width of my straps.
Sew and zigzag to your top. (I pinned my straps before I sewed them and put the dress on so I could adjust the fit accordingly. After you finish stitching, Iron the seam flat and then stitch in place.

I found that my straps weren't even (as you can see in the picture above) so I made some bows to cover them. I cut out 2 big strips and 2 small strips and hemmed them the same way we did with the straps. I folded the bows and sewed them up the middle to get them to keep their shape. Then I took the small strips and sewed them around the bow, making sure to cover the stitch.

I attached them to the front of each strap to cover my mistake and give a little extra girly flair.


Ta-Da! Throw a tank underneath with a pair of skinnies and you're good to go!


I'd love to see your finished projects! Send them to me at BeeBeeandJack@gmail.com!

Happy Crafting!!